
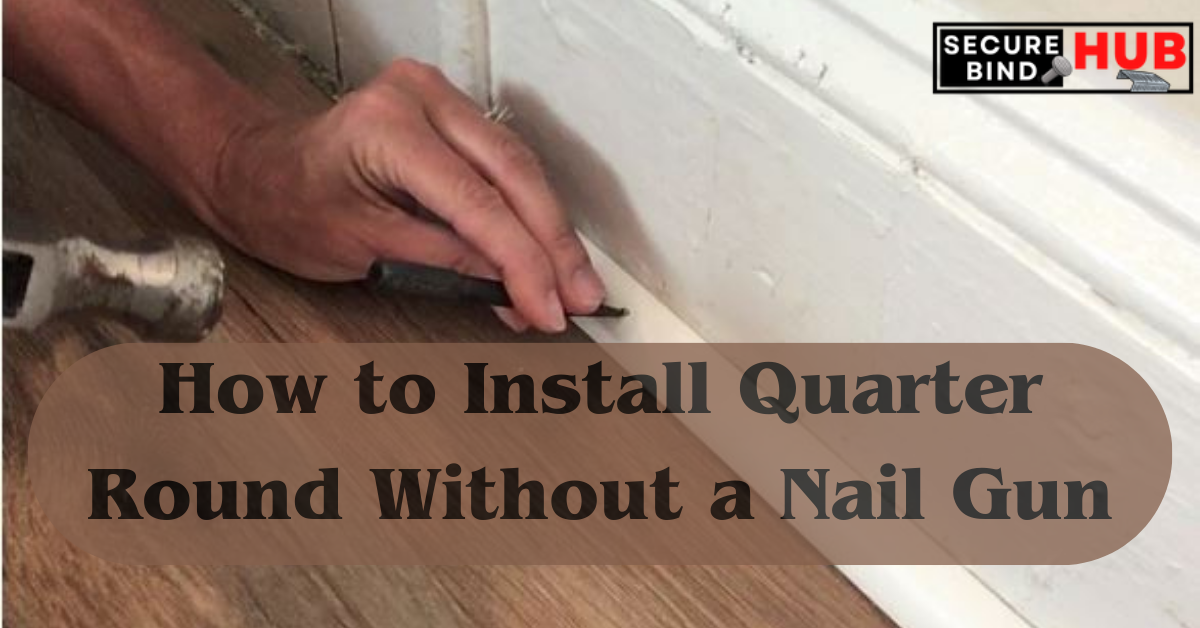
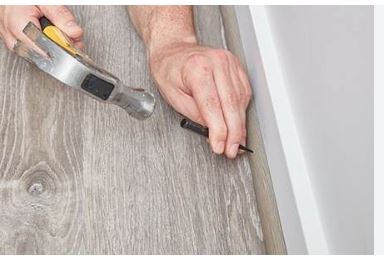
When it comes to adding those final, polished details to your flooring, quarter-round molding is a must-have. It not only conceals the gaps between your baseboards and flooring but also enhances the overall aesthetics of your room. While many opt for nail guns to install quarter round, not everyone has access to one or is comfortable using it. In this comprehensive guide, we will walk you through the process of installing quarter-round without a nail gun, providing step-by-step instructions and expert tips for a flawless finish.
How to Install Quarter Round Without a Nail Gun
Gather Your Materials
Before you begin the installation process, it’s crucial to gather all the necessary materials. Here’s what you’ll need:
- Quarter Round Molding: Measure the perimeter of your room to determine how much molding you’ll need.
- Miter Saw: This will help you make precise cuts for corners and angles.
- Adhesive: Opt for a strong adhesive like construction adhesive or adhesive caulk.
- Measuring Tape: Essential for measuring and marking where to cut.
- Caulk Gun: If you’re using adhesive caulk, a caulk gun is a must.
- Safety Gear: Wear safety glasses to protect your eyes, and consider gloves for handling the molding and adhesive.
Measure and Cut
Begin by measuring the length of the wall where you plan to install the quarter round. Use your miter saw to make precise 45-degree cuts at each end for corners and angles. Ensure that the cuts are clean and fit snugly against each other.
Apply Adhesive
With your quarter round pieces cut and ready, it’s time to apply adhesive. Run a bead of adhesive along the backside of the molding, ensuring even coverage. This adhesive will bond the quarter round to both the wall and the floor.
Press into Place
Carefully press the quarter round molding into place along the wall, aligning it with the floor. Apply firm, consistent pressure to ensure a strong bond. Make sure the molding fits snugly against the wall, leaving no visible gaps.
Secure with Painter’s Tape
To hold the molding in place while the adhesive dries, use painter’s tape. Apply strips of tape at intervals along the length of the molding. Leave the tape in place until the adhesive has fully cured, typically 24 hours.
Fill Nail Holes (Optional)
If you prefer not to use nails, you can fill any gaps or holes with wood filler or putty that matches the color of your quarter round molding. Sand it down for a smooth finish.
Caulk the Gaps
To achieve a seamless look, caulk the gaps between the quarter round and the wall as well as the quarter round and the floor. Use a caulk gun for precise application. Smooth out the caulk with a damp cloth or your finger for a neat appearance.
Paint or Stain (Optional)
If your quarter round is unfinished or you want to change its color, this is the time to paint or stain it. Allow it to dry completely before proceeding.
Remove Painter’s Tape
Once everything is dry and secure, gently remove the painter’s tape to reveal your beautifully installed quarter round molding.
FAQ About How to Install Quarter Round Without a Nail Gun
Can I use double-sided tape instead of adhesive for installation?
Yes, you can use double-sided tape as an alternative, but it may not provide as strong a bond as adhesive.
Do I need to remove the baseboards before installing quarter round?
It’s not necessary to remove the baseboards. Quarter round molding is designed to cover the gap between the baseboards and the floor.
Can I use a handsaw instead of a miter saw for cutting?
While a miter saw provides more precise cuts, you can use a handsaw if you’re comfortable with it. Just ensure the cuts are as clean as possible.
How long does the adhesive take to cure?
Adhesive typically takes around 24 hours to cure completely. Avoid placing any heavy objects or applying pressure during this time.
Is it possible to reuse quarter round molding?
Yes, you can reuse quarter round molding if it’s in good condition. Carefully remove it from the wall and floor, clean it, and reinstall it as needed.
What should I do if the quarter round doesn’t fit perfectly?
If the quarter round doesn’t fit snugly, you can make minor adjustments by trimming or sanding the molding until it fits properly.
Finishing Line
Installing quarter round without a nail gun is a straightforward process that can add a professional touch to your flooring project. By following these steps and tips, you can achieve a seamless and polished look that enhances the overall appeal of your room. Whether you’re a seasoned DIY enthusiast or a novice, this guide equips you with the knowledge and confidence to tackle this home improvement task successfully.
Related Topics:
- How to Hammer Nail Into Concrete Wall Without Drill
- How to Unjam a Nail Gun
- Can I Use 18 Gauge Nails for Shiplap
- Will a Palm Nailer Work Underwater
- How to Nail Hardie Plank Siding